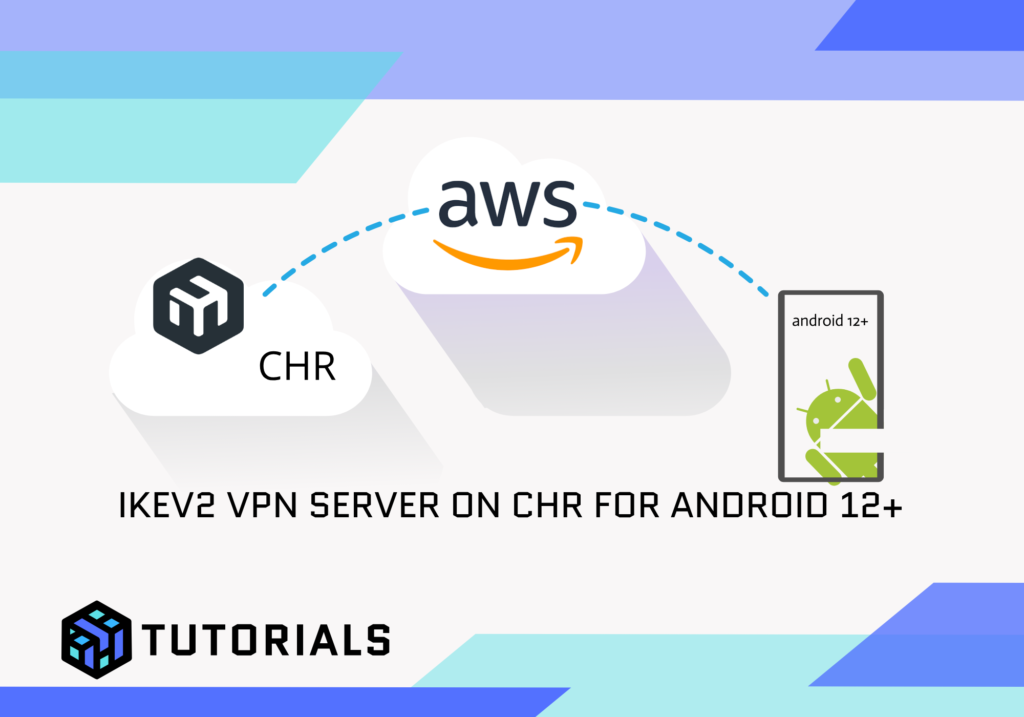
To configure a MikroTik router as an IKEv2 VPN server for Android, you can follow this guide. In the guide the server will run on a MikroTik CHR deployed in AWS (click here for a guide to deploying a CHR with the AWS EC2 Free-Tier) however this can be done on any MikroTik device.
Prerequisites for the IKEv2 VPN
- MikroTik RouterOS with IPsec support (version 6.45 or later recommended).
- Public IP Address on the MikroTik router.
- Android device running a compatible IKEv2 VPN client.
Step 1: Generate the IKEv2 VPN Certificates
Open Winbox and navigate to the Certificate menu
Create a CA (Certificate Authority): /certificate add name=ca-cert subject-alt-name=DNS:ca-cert common-name=ca-cert key-usage=digital-signature,key-encipherment,data-encipherment,key-cert-sign,crl-sign


3. Create the server certificate: /certificate add name=server-cert common-name=server-cert subject-alt-name=DNS:server-cert key-usage=tls-server


Create the client certificate: /certificate add name=hello@mikrotikmasters.com common-name= (create multiple client certs for multiple users. Email not required but allows for unique certificate)hello@mikrotikmasters.com subject-alt-name=EMAIL:hello@mikrotikmasters.com key-usage=tls-client


Sign the certificates, beginning with the CA then using the CA to sign the other two:
/certificate sign ca-cert

/certificate sign server-cert ca=ca-cert

/certificate sign hello@mikrotikmasters.com ca=ca-cert

Once signed, set the server-cert to trusted: /certificate set server-cert trusted=yes

Export the CA certificate for the client: /certificate export-certificate ca-cert /certificate export-certificate server-cert /certificate export-certificate hello@mikrotikmasters.com

Step 2: Configure IKEV2 VPN IPsec
IP > IPsec
IPsec Group: /ip ipsec policy group add name=group_ike2

IPsec Profile: /ip ipsec profile add dh-group=modp2048 enc-algorithm=aes-256 hash-algorithm=sha256 name=peer_profile_ike2

IPsec Peer: /ip ipsec peer add exchange-mode=ike2 name=peer-ike2 passive=yes profile=peer_profile_ike2

Set up an IPsec Proposal: /ip ipsec proposal add auth-algorithms=sha256 enc-algorithms=aes-256-cbc lifetime=8h name=proposal_ike2 pfs-group=none

Create an IPsec Policy: /ip ipsec policy add dst-address=10.1.254.0/24 group=group_ike src-address=0.0.0.0/0 template=yes

Step 3: Configure User Identity
Add an IP Pool for clients: /ip pool add name=vpn-pool ranges=10.1.254.10-10.1.254.20

Create a IPsec Mode Config: /ip ipsec mode-config add address-pool=ppp-pool address-prefix-length=32 name=modeconf_ike2 split-include=0.0.0.0/0 static-dns=10.1.254.1 system-dns=no

Add IPsec Identity: /ip ipsec identity add auth-method=digital-signature certificate=ca-cert generate-policy=port-strict match-by=certificate mode-config=modeconf_ike2 peer=peer-ike2 policy-template-group=group_ike remote-certificate=hello@mikrotikmasters.com remote-id=fqdn:hello@mikrotikmasters.com

Step 4: Configure Firewall
Ensure the router allows IPsec traffic:
- Accept UDP 500 and 4500 (IKEv2 ports):
/ip firewall filter add chain=input protocol=udp port=500,4500 action=accept - Accept IPsec ESP packets:
/ip firewall filter add chain=input protocol=ipsec-esp action=accept
Step 5: Install the CA Certificate
- Download the Certificate
Using Winbox, navigate to the Files tab on your MikroTik router and download theca.crtcertificate to your smartphone. - Access Security Settings
On your smartphone:- Go to Settings.
- Navigate to Security and Privacy.
- Select Other Security Settings.
- Install the Certificate
- Choose Install from device storage or a similar option.
- Select CA Certificate.
- A warning about the certificate’s origin may appear; click Install anyway.
- Locate the
ca.crtfile and select it. - Click Done to install the certificate.
Step 6: Install the Client Certificate
- Download the Client Certificate
Repeat the process above to download theclient.p12certificate to your smartphone. - Install the Certificate
- Follow the same steps as with the CA certificate.
- This time, choose the VPN User Certificate option.
- Select the
client.p12file. - Enter the password for the certificate (e.g.,
12345678if set during creation). - Click OK to complete the installation.
Step 7: Configure the VPN Client
- Access VPN Settings
- On your smartphone, go to Settings.
- Navigate to Other Network Settings (or Connections in some devices).
- Select the VPN option.
- Add a VPN Profile
- Click the three dots in the top-right corner and select Add VPN profile.
- Enter the following details:
- Name: Example:
VPN-Home. - Type: Choose IKEv2/IPsec RSA.
- Server Address: Enter the public IP address of your MikroTik router.
- IPsec User Certificate: Select the installed client certificate.
- IPsec CA Certificate: Select the installed CA certificate.
- IPsec Server Certificate: Choose Received from server.
- Name: Example:
- Save and Connect
- Click Save to finalize the VPN profile.
- Select the newly created VPN profile and click Connect. Your smartphone should connect to the VPN and allow access to the server resources.
This configuration ensures secure connectivity using IKEv2 with certificate-based authentication.


